
Snowboarding Equipment
Sort by
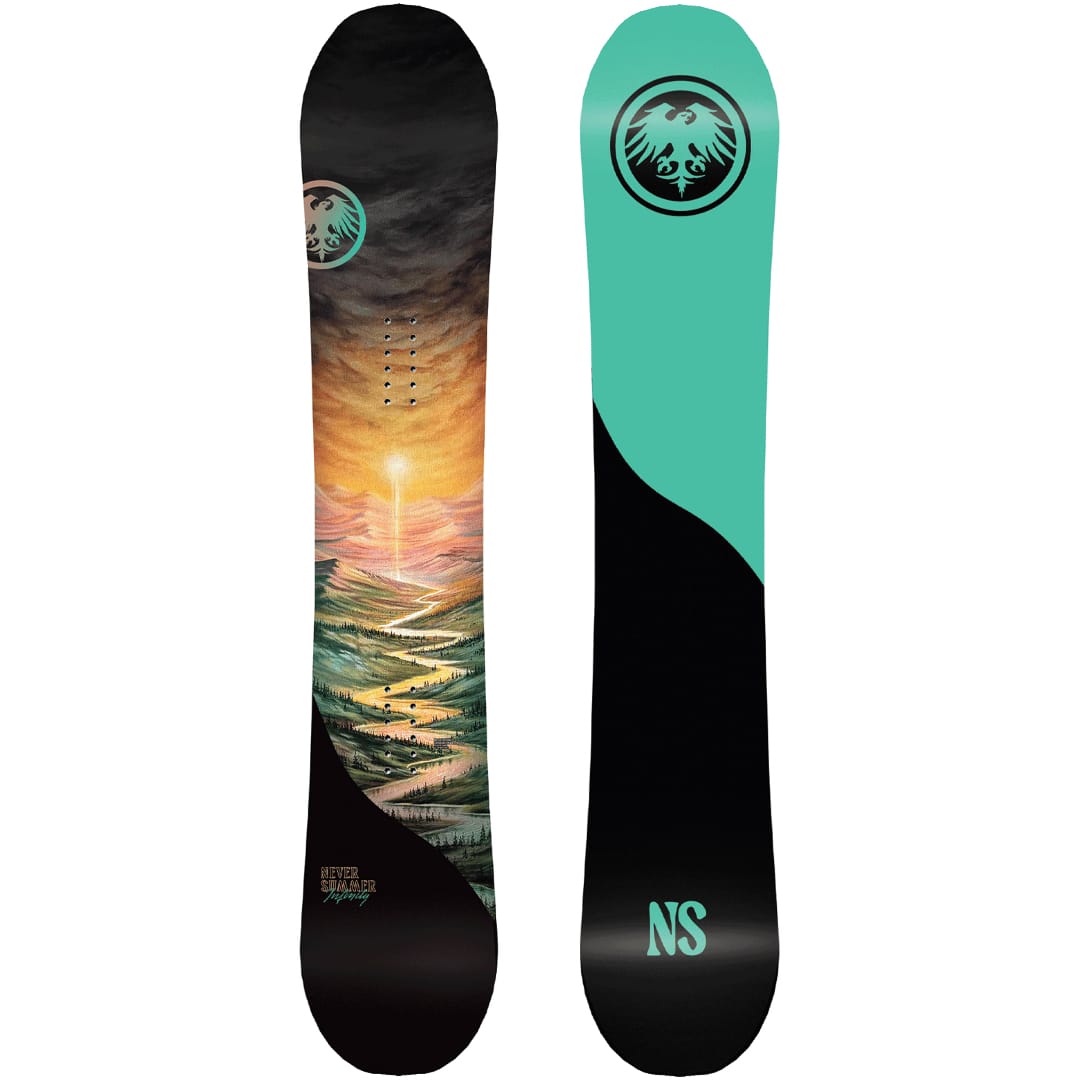














You've viewed 48 of 268 products
A snowboard setup is a system. The board, the bindings and the boots each do a job, but it is how well they work together that decides whether your riding feels precise and effortless or vague and tiring. Our snowboard equipment range focuses on that hardware, so you can build a setup that matches your riding and fits properly from the first run.
Here you will find snowboards across all shapes and profiles, bindings to connect you to the board, and boots that complete the chain. Whether you are assembling a first complete setup or upgrading one part of an existing one, the aim is the same: components that complement each other rather than fight one another.
The guide below explains how the three pieces fit together and how to match them. You can also browse the parts directly: snowboards, bindings, and boots.
How Does a Snowboard Setup Work Together?
Your boots lock into your bindings, and your bindings bolt onto your board. Power and steering flow from your legs, through the boots, into the bindings and finally to the board's edges. If any link in that chain is mismatched, for example a stiff board with very soft boots, the setup feels disconnected. Matching the flex and intent of all three is what makes a board respond the way you expect.
Choosing the Board
The board sets the character of the whole setup. Key decisions are shape (directional, twin or directional twin), profile (camber, rocker or hybrid) and flex. Camber favours precise, powerful riding; rocker and hybrid profiles add float and forgiveness. A softer board is easier to turn and more playful, a stiffer board is more stable at speed. Pick the board around the riding you actually do most, then size it by your weight with boot size setting the width.
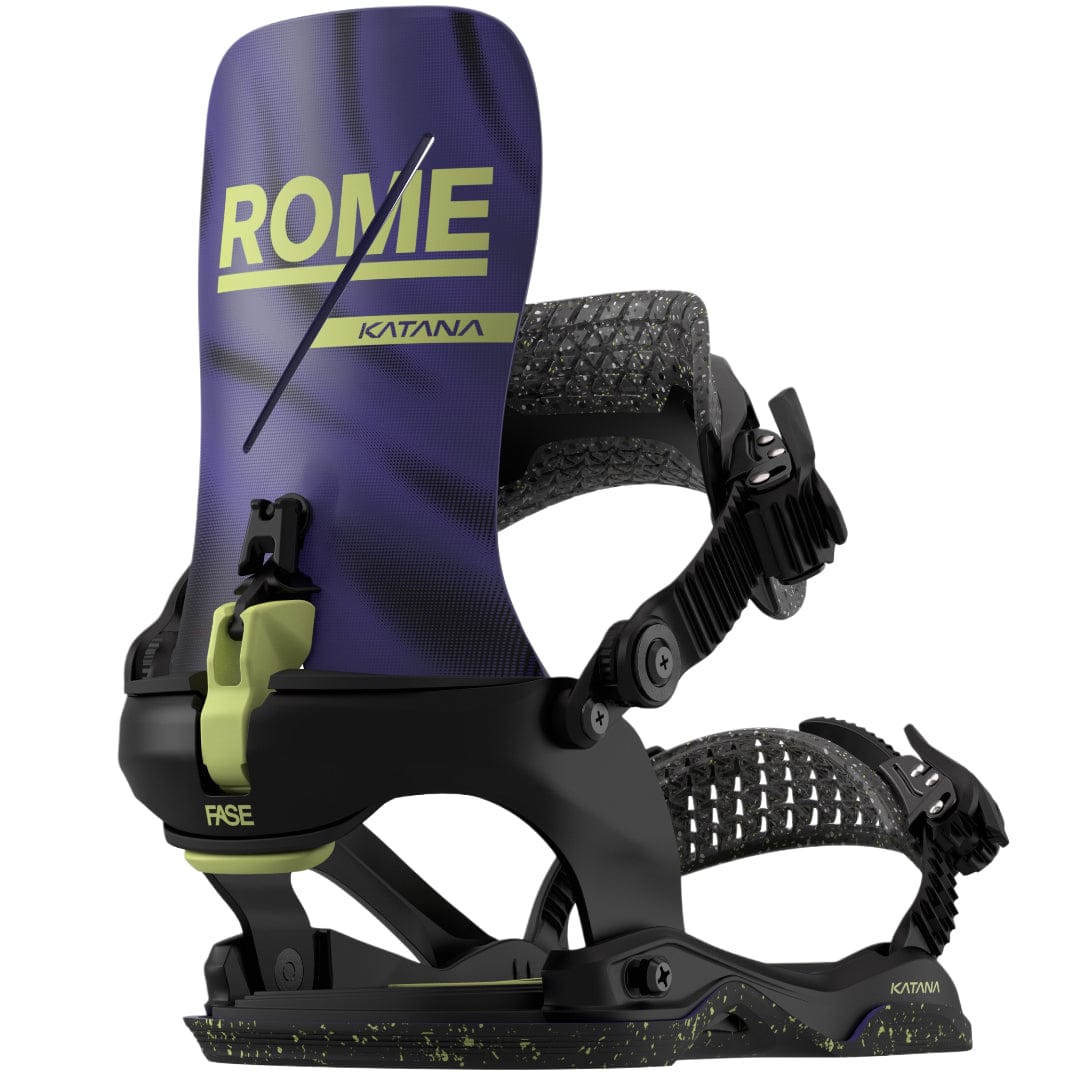
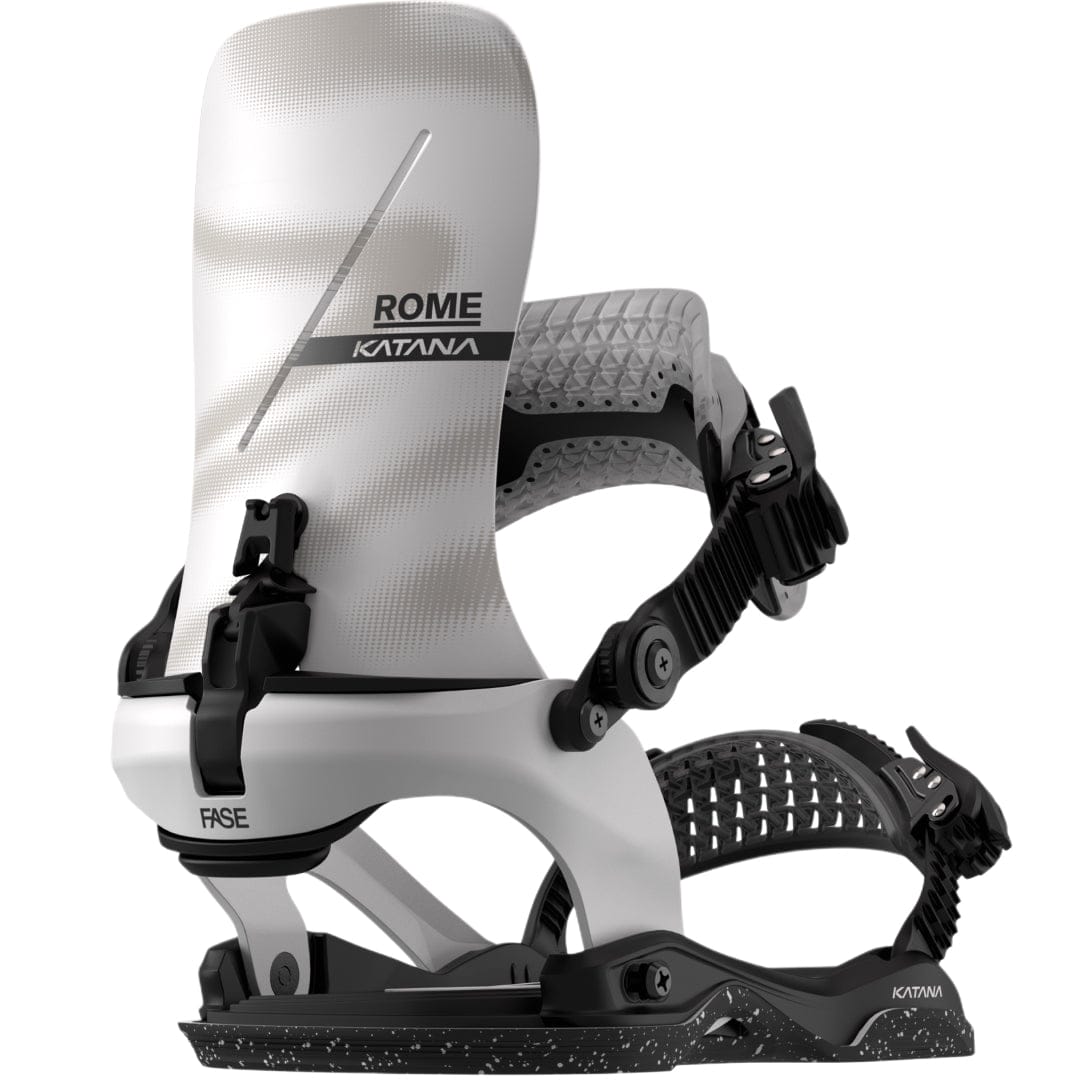
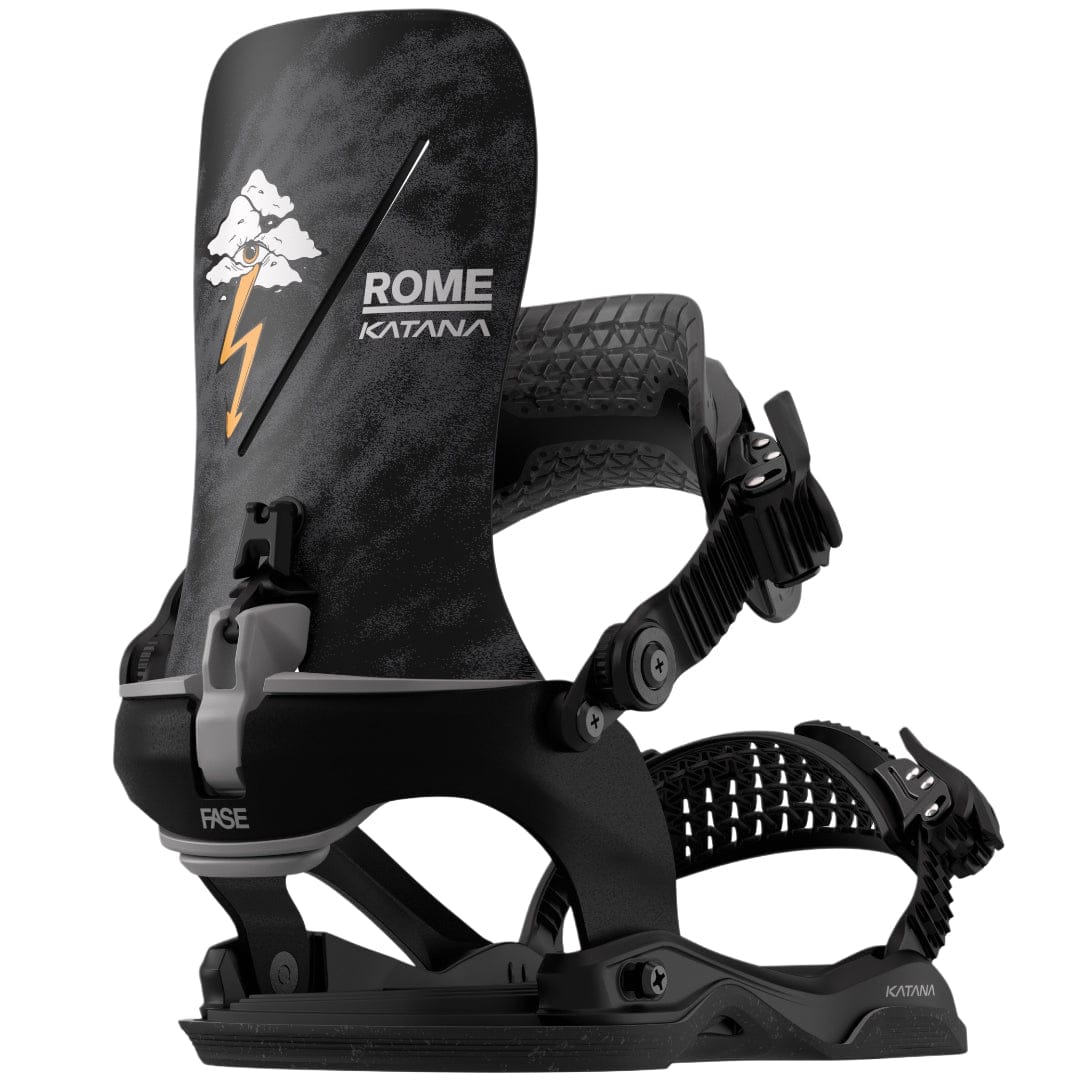
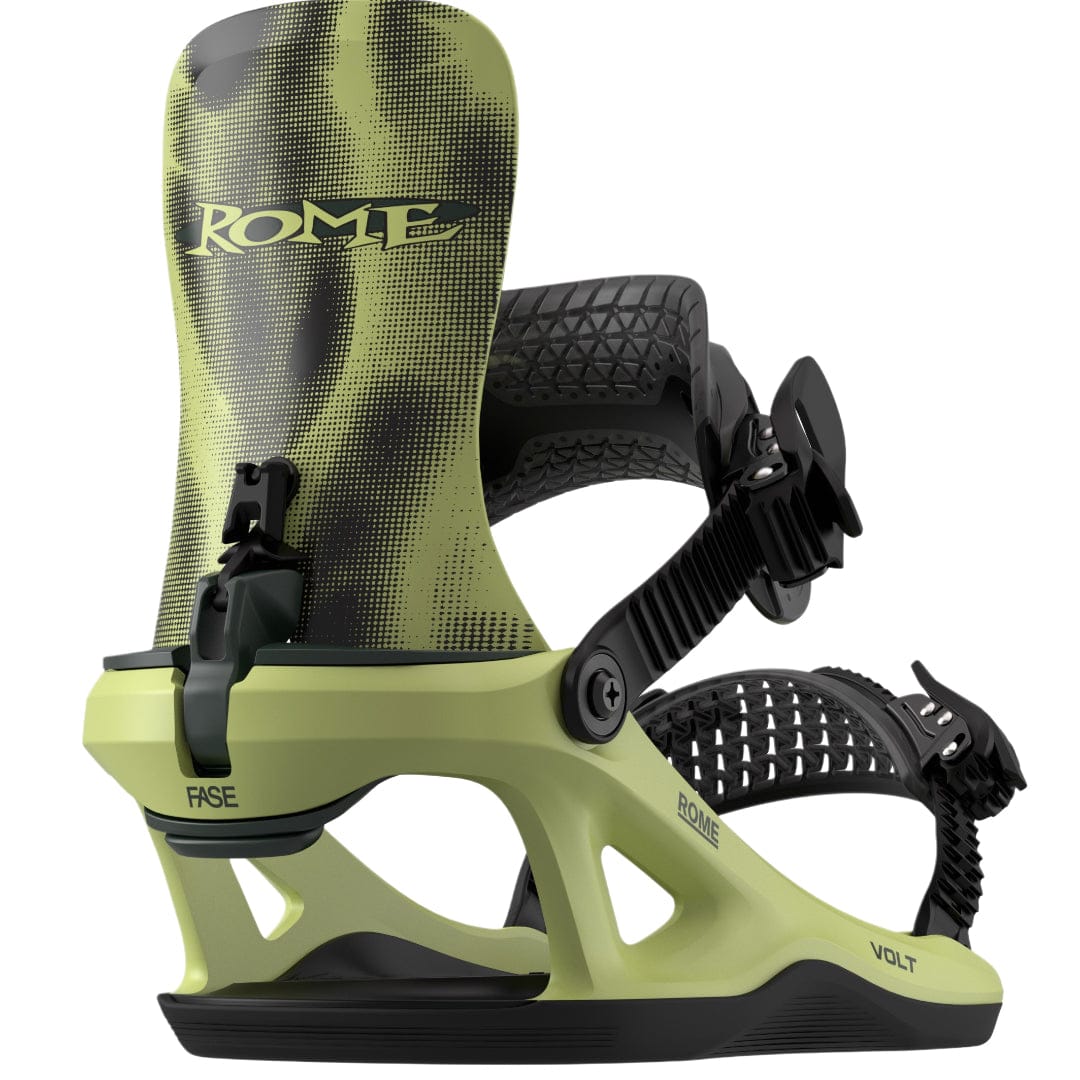
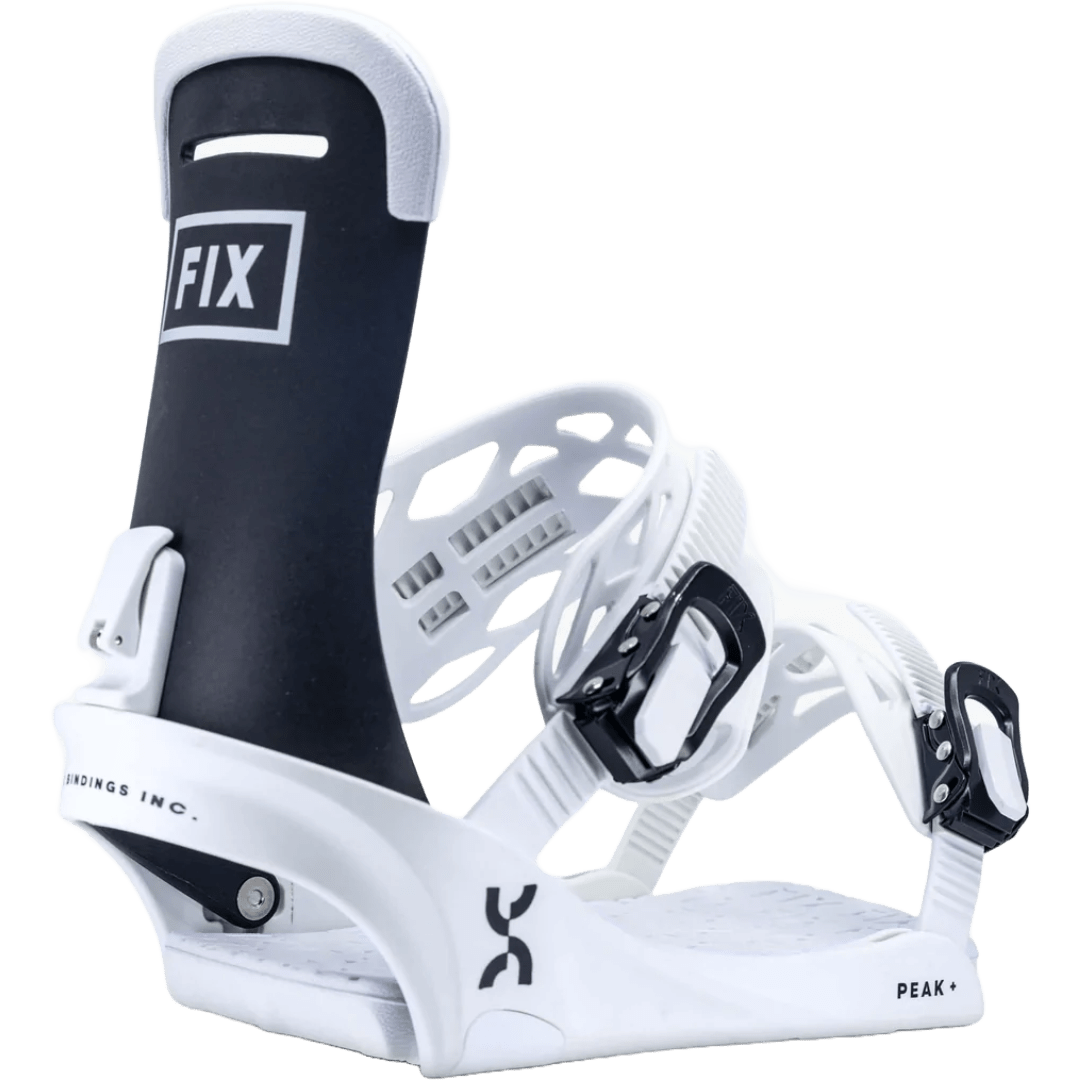
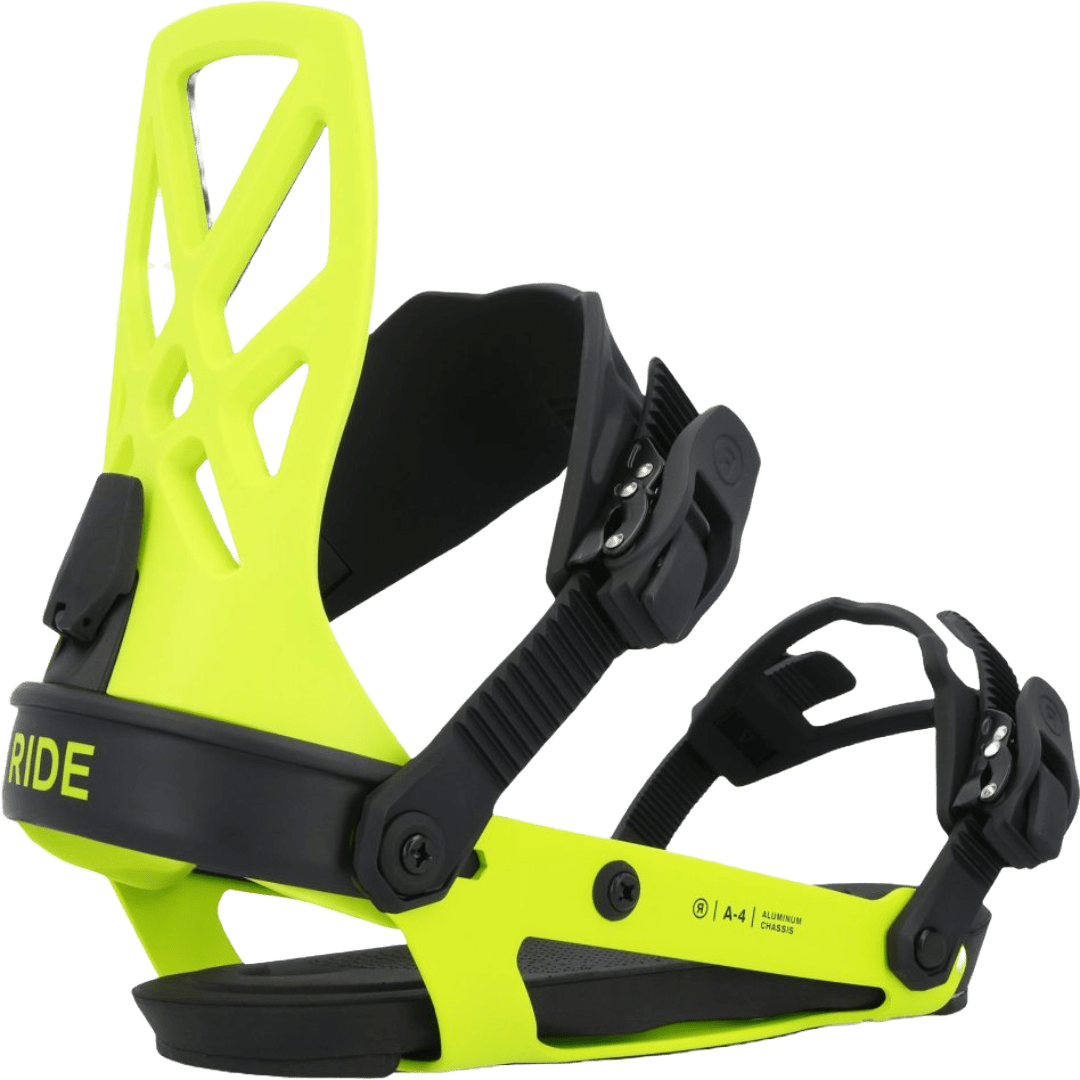
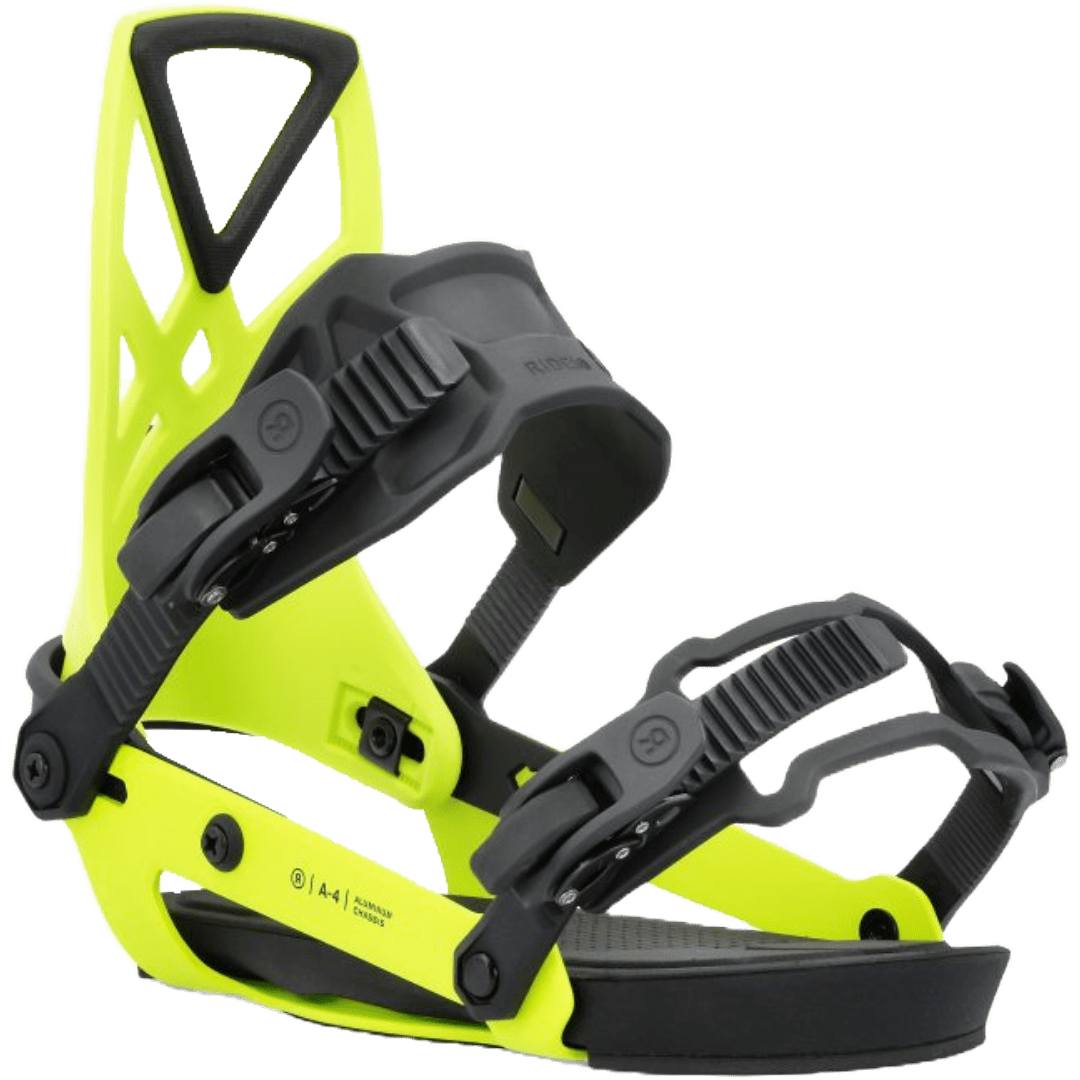
Choosing Bindings
Bindings translate your movements into edge control, and their flex should broadly match the board and boots.
- Softer bindings: forgiving and playful, good for learning and park
- Stiffer bindings: responsive and supportive, suited to all-mountain and freeride
- Fit: bindings are sized to your boot, so the two must be matched
Also check the binding is compatible with your board's mounting system. Most use a standard disc pattern, but some boards use a channel system that needs compatible baseplates.
Choosing Boots
Boots are the most personal part of the setup and the one most worth getting right. They range from soft and forgiving to stiff and responsive, mirroring the same flex language as boards and bindings. Lacing varies too, from traditional laces to speed-lace and dial (Boa) systems, each offering a different balance of fine-tuning and convenience. Comfort and a secure heel hold matter more than any single feature.
Matching Flex Across the Setup
A simple rule keeps things balanced: aim for broadly similar flex across board, bindings and boots. A beginner or park rider is best with a softer setup throughout; an aggressive all-mountain or freeride rider benefits from a stiffer one. Mixing extremes, like very stiff boots with a very soft board, blunts the strengths of both. Consistency is what makes a setup feel intuitive.
Stance and Setup Basics
Once you have your parts, stance affects comfort and control. Stance width is usually around shoulder width, with both bindings angled to suit your riding; freestyle riders often run a more even, duck stance, while all-mountain riders may angle the back foot closer to neutral. Starting from the board's reference stance and adjusting from there is a sensible approach. Small tweaks can make a big difference to how natural the board feels.
Sizing Guidance
Board length is driven by rider weight, with width set by boot size so you do not catch toes or heels in turns. Boots should be snug with the toes just brushing the end when upright, easing back as you flex. Bindings are then matched to boot size. Always check each brand's size chart, as sizing varies, and when in doubt on boots, fit smaller rather than larger, since they pack out slightly with use.
Caring for Your Hardware
Keep the base waxed and the edges tuned for grip and glide. Dry boots fully between days, away from direct heat, and loosen the liners to air out. Check binding bolts are tight at the start of each trip. Store the board waxed, out of damp and direct sun over the off-season. Well-maintained hardware performs better and lasts far longer.
How Much Does Snowboard Hardware Cost?
Pricing reflects materials and technology. Entry-level boards, bindings and boots make a complete first setup affordable, mid-range hardware offers the best balance of response and value for most riders, and premium gear uses lighter, livelier materials for frequent riders. If you are splitting a budget, putting a little extra into boots usually pays back most in comfort and control.
Upgrading One Part at a Time
You do not have to replace a whole setup at once. In fact, upgrading one component at a time is often the smartest way to improve your riding, provided you keep the system balanced. The usual first upgrade is boots, because they wear out fastest and affect comfort and control most. A better-fitting, appropriately flexed boot can transform how an existing board and bindings feel.
Bindings are the next common upgrade, adding response and support, and should be matched to both your boots and your board. The board itself is often the last thing experienced riders change, because a good board lasts several seasons and the gains from a new one are more subtle than a better boot fit. Whenever you upgrade a single part, check it still complements the rest: dropping a very stiff binding onto a soft beginner board, for example, unbalances the setup. Thinking of your kit as a system, even when buying piece by piece, keeps every upgrade working with what you already own rather than against it.
Why Buy Snowboard Equipment from Surface2Air Sports?
We have been building snowboard setups since 2002, with a shop in Poole and the full range online.
- Boards, bindings and boots that can be matched as a system
- Trusted brands across every ability level
- Advice on flex matching and compatibility
- In-store boot fitting and online support
- Options at entry, mid and premium budgets
Tell us how and where you ride and we will help you assemble a setup that works together. Start with snowboards, then match your bindings.
Frequently Asked Questions About Snowboard Equipment
Do my board, bindings and boots need to match?
They should be broadly matched in flex and intent. A balanced setup feels intuitive, whereas mixing very stiff and very soft parts blunts the strengths of each.
Are all bindings compatible with all boards?
Most use a standard disc mounting pattern, but some boards use a channel system that needs compatible baseplates. Always check compatibility before buying.
How are bindings sized?
Bindings are sized to your boot, so choose your boots first and match the bindings to them for a secure, responsive connection.
What lacing system should I pick for boots?
Traditional laces allow fine-tuning, speed laces are quick, and dial (Boa) systems are fast and easy with gloves on. Choose by the convenience and adjustability you prefer.
How wide should my stance be?
Roughly shoulder width is a good starting point, adjusted to feel balanced. Begin from the board's reference stance and fine-tune from there.
Where should I spend most of my budget?
If funds are tight, prioritise boots. A comfortable, well-fitted boot improves control more than any other single upgrade.
How do I maintain my setup?
Wax and tune the board, keep binding bolts tight, dry boots away from direct heat, and store the board waxed and out of damp over the off-season.
Let customers speak for us
Brought a full new set up from these guys board and binding.. they were awesome from start to finish, even when i had a issue they were straight on a face time to me.. Thanks guys

When ordered item was not in stock but when it has arrived the team kept me filled in with when it would arrive and it did promptly! Would use again

Rapid delivery!!

Great job well dun thanks for your help with the purchase..

The bag is sturdy, spacious and water proofed on the inside. In addition, it can be worn as a backpack but it also comes with a strap for putting over a shoulder as a bag. I am happy with the purchase.

My first order of gummy straps never arrived so I contacted S2AS and they were very apologetic as Royal Mail had lost my parcel. They immediately sent out a second sets of straps which arrived the following day.
The customer service I recieved was exceptional and I would highly recommend this company for their swift response. I will definitely order with them again.

the whole exercise

item as dscribed, looks fantastic

As described and looks fantastic. thank you
My first board and binding set up after using hire equipment for over a year. These will take some getting used to but step in and strap is a vast improvement. Large to size 12UK looks like it only just fits across the toe strap.
S2AS are my go to online store for anything Snowboarding related and as they say any query just pick up the phone and speak to Ollie (who sounds a lot like Jamie Lang)

Wait for snow
Loved the service in the shop Ollie was very helpful and a pleasure to deal with. Recommend highly
Kind regards
Matt

2026 Slingshot KTV EverShred Wakeboard Bindings

Exceptionally quick delivery, would definitely recommend buying from this site

Hi my in store experience was fantastic from email to shop with your representative Ollie could not have been more polite & helpful
Once I’ve tried the bourd I will send further feedback
Hope your all well
Kind regards
Matt

We ordered a large amount of items that all arrived safely, we kept everything save two jackets which we ordered wrong, but the team were great, we sent them back and got a refund with no hassle. Will definitely use in the future!